Softphone QR Code Provisioning: Day-One Rollout Checklist
Tom Reed · Updated 12 November 2026
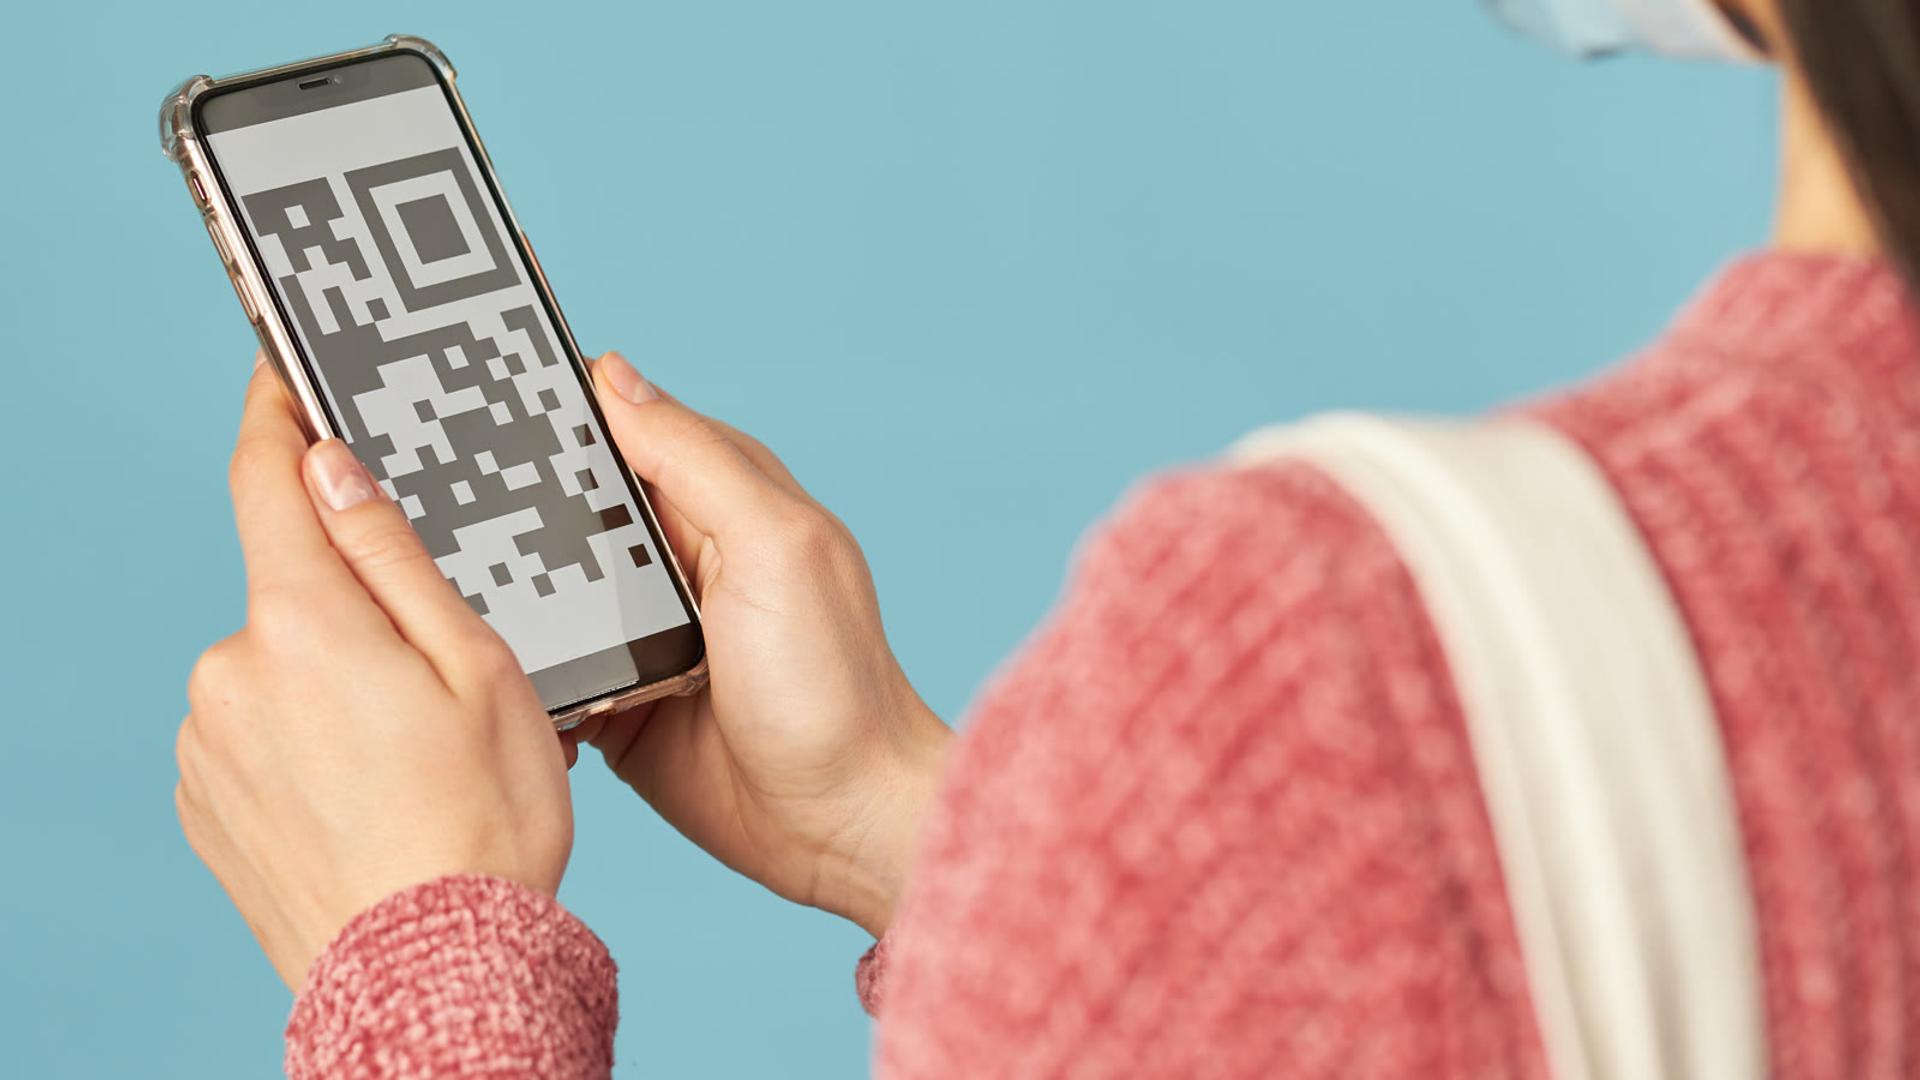
QR code provisioning configures a business softphone with one scan. Your admin generates a code in the portal, the user opens the app and scans it, and SIP credentials and settings arrive automatically, so nobody types server details or passwords and support gets fewer setup tickets.
This guide is for IT admins who are tired of emailing SIP server names, usernames and passwords to every new user. It explains how a QR scan works for the person holding the phone, what it removes from your support queue, and gives you a day-one checklist you can run on your first rollout. It sticks to generic steps, because the exact screens depend on the app release and your account.
What is QR code provisioning for a softphone?
QR code provisioning is a way to set up a softphone without typing anything. Instead of handing a user a server address, a username and a password, you generate a QR code in the cloud portal. The user scans it once, and the app is configured with their account.
The idea is zero-config deployment: the admin does the work in the portal and the user only has to install the app and point the camera. If you are choosing an app for this, look at business softphone apps with QR provisioning, which cloud-provision SIP credentials through a QR code and keep settings under central control.
Because the portal holds the configuration, you can also push settings and updates later without asking anyone to reinstall the app.
For IT teams, the appeal is simple. You stop being the person who copies credentials into emails and chat messages, and you stop fielding "it will not register" tickets that turn out to be a mistyped character. Setup becomes a short, repeatable task that any admin can run, whether you are onboarding one new starter or a whole department on the same morning.
How does a user get set up with a QR scan?
For the person being set up, there are only a few steps:
- Install the app from the App Store or Google Play.
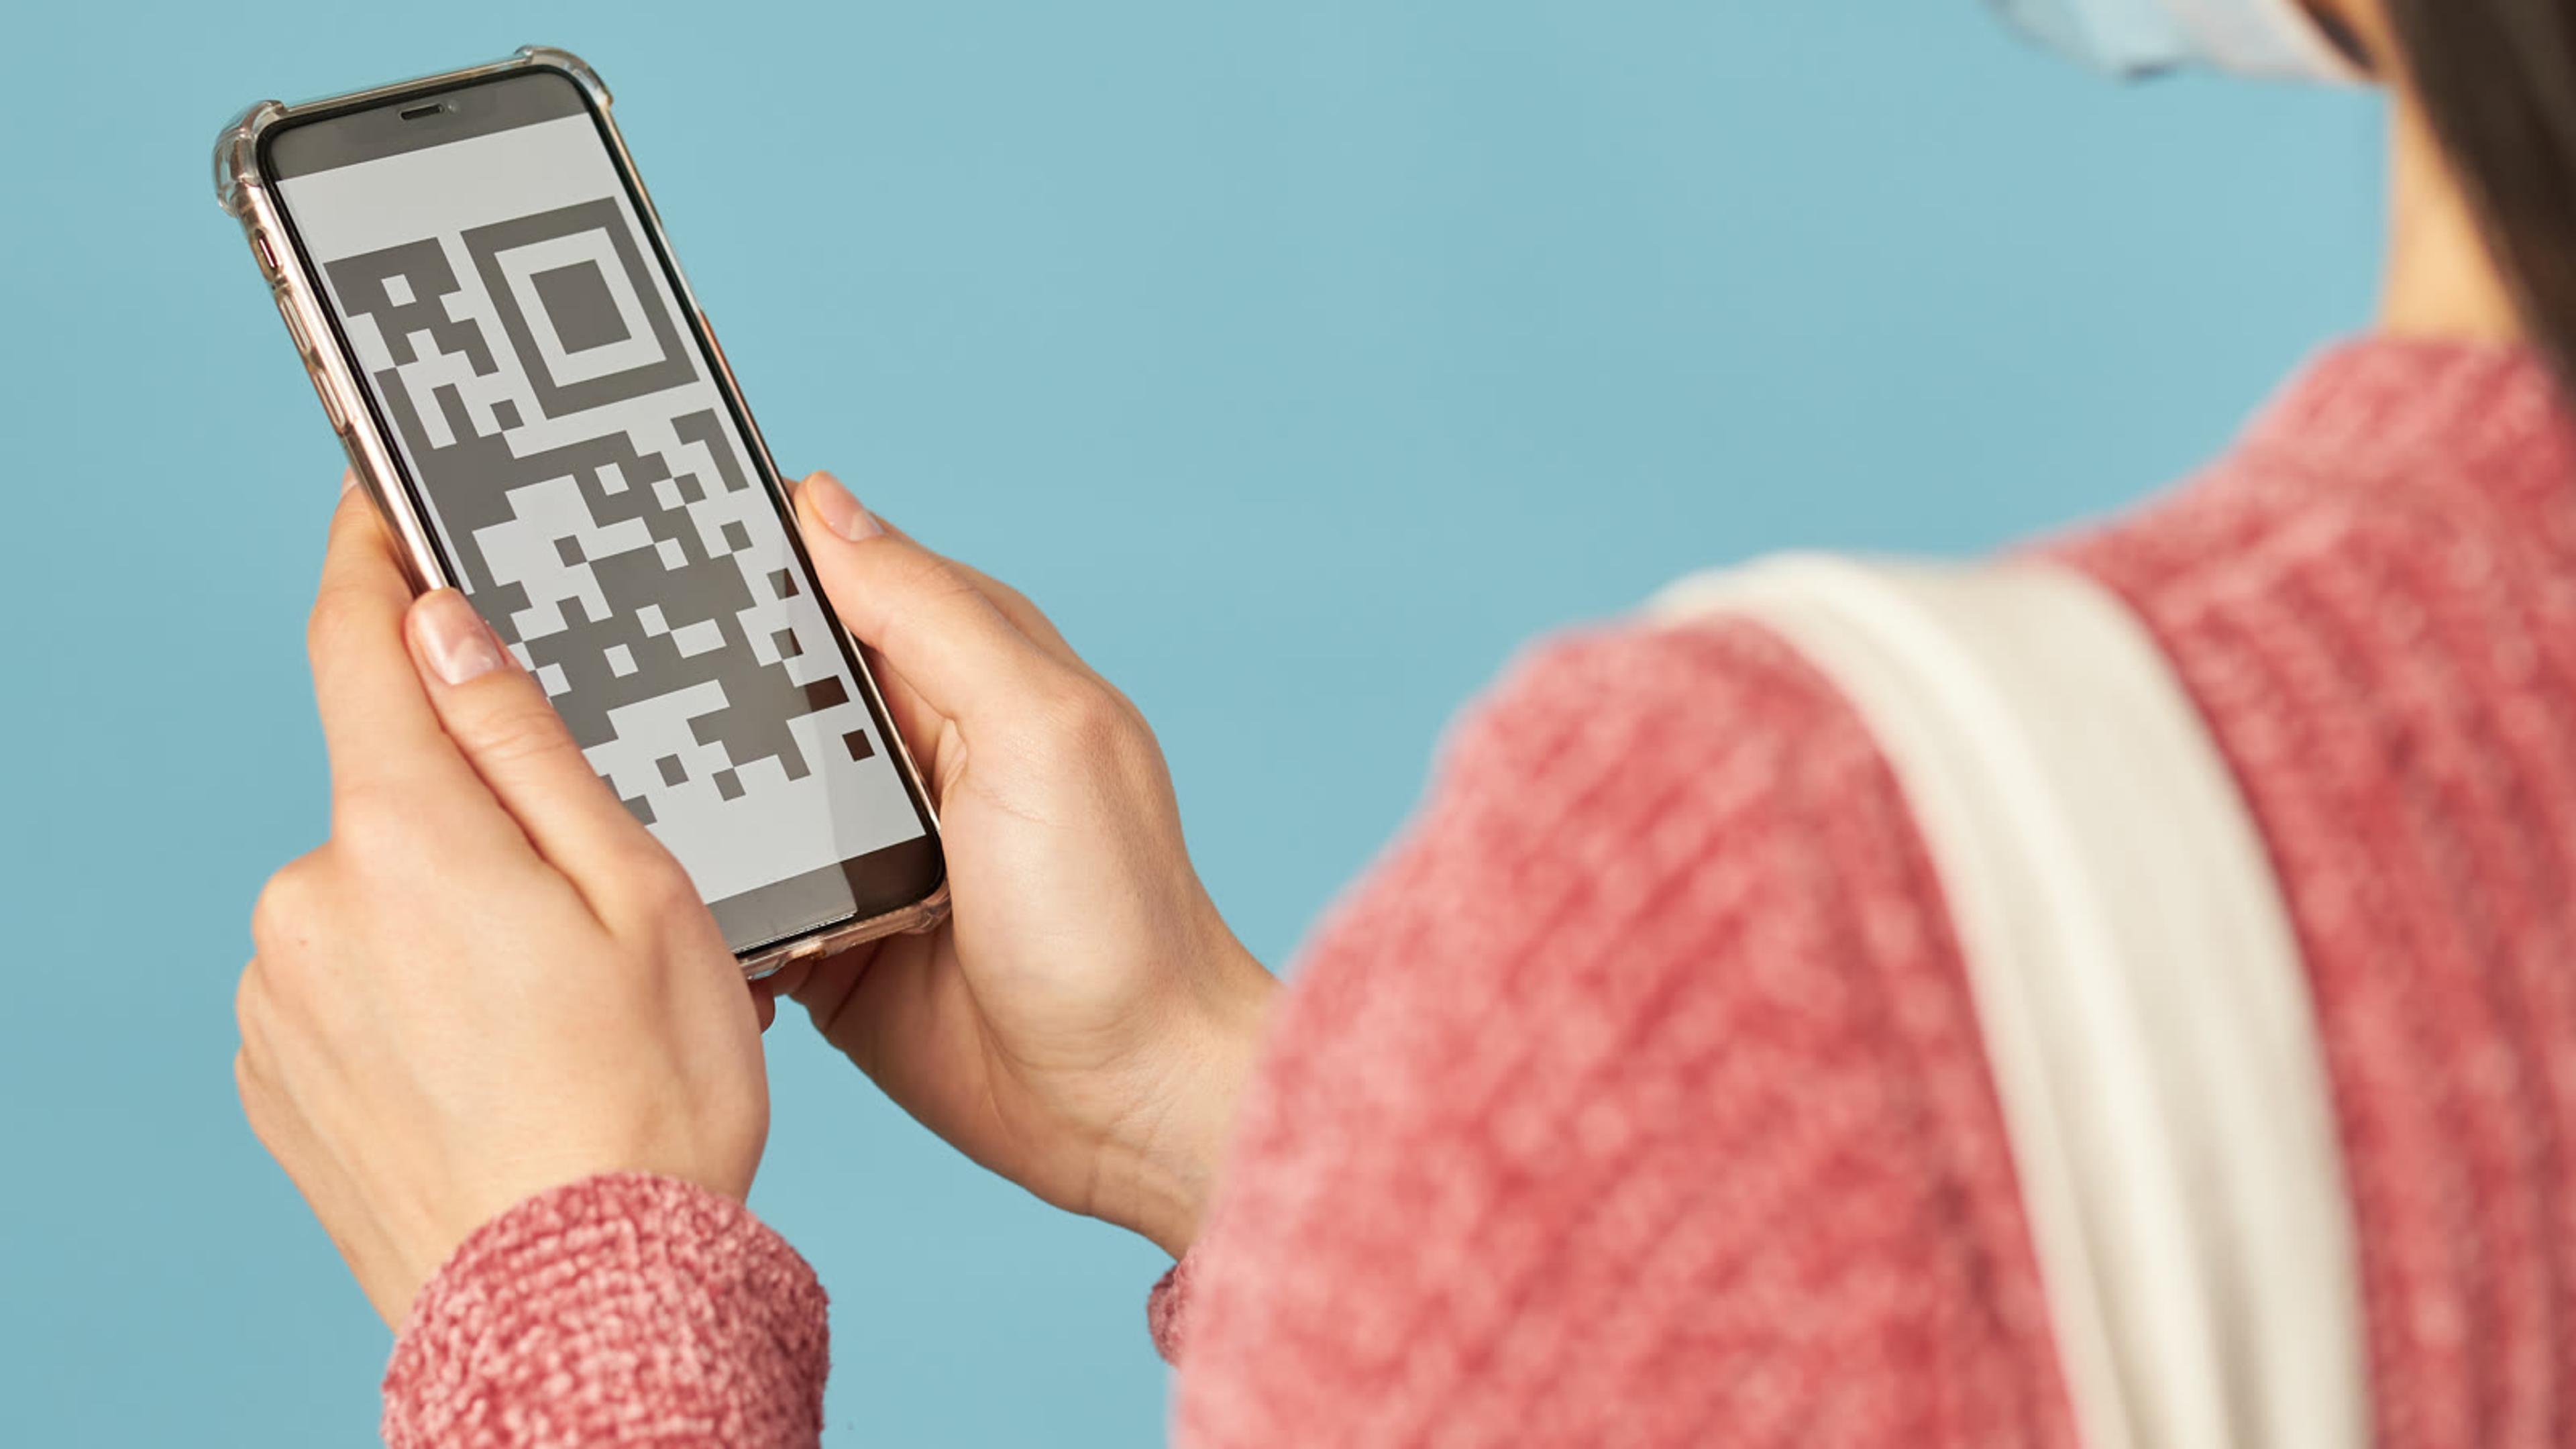
- Open the app and choose the QR code scanner.
- Scan the code from the SessionCloud portal.
- Start calling. The app is configured in one step.
That is the whole job for the user. They never see a field for a server name, and they never have to read a password off an email. If your team uses mobile phones as their main device, the iOS and Android softphone page shows what the apps cover.
Why use QR instead of typing SIP settings?
Typing SIP settings by hand is where setup goes wrong. One wrong character in a server name or a password and the app will not register, and the user raises a ticket. A scan supplies every value exactly as the portal holds it, so those mistakes do not happen. QR provisioning reduces support queries because users do not type SIP settings at all.
| QR scan | Manual SIP entry | |
|---|---|---|
| User effort | Scan once | Type server, username and password |
| Typing errors | Avoided | Common |
| Support queries | Fewer | More |
| Changes later | Cloud-managed, no reinstall | Re-enter by hand |
Manual entry still has a place as a fallback. If you want the full manual route, the softphone setup checklist walks through it step by step.
What does a day-one QR rollout look like?
A good day-one rollout is boring, and that is the aim. Create the accounts, generate the codes, invite the users and check one device before you send the rest. Work through the checklist below in order.

Checklist: day-one QR rollout
- Create users or extensions in the portal
- Generate each user's QR code, or the setup link for desktop
- Send the invite with install links for iOS and Android
- Ask each user to install the app and scan their QR code
- Test an inbound and an outbound call on one device first
- Check that push notifications are enabled
- Keep a manual-setup fallback for the odd failure
Test on a single device before you tell everyone. If that one works, the rest of the rollout follows the same path.
It also helps to tell users what to expect before the invite arrives. A short note saying "install the app, open it, scan the code" is usually all they need, and it keeps the first call to your support team from being about setup at all. Allow camera access when the app asks, because the scanner needs it to read the code.
When is QR not enough?
QR is ideal for getting people connected on day one, but it is not the whole story for a large managed fleet. If you need to control devices, enforce policies or remove access when someone leaves, read about MDM and Intune provisioning and offboarding. If your people are spread across locations, zero-touch softphone provisioning for remote teams covers that angle.
Desktop apps work a little differently: they use a setup link instead of a QR code. Plan to send mobile users a QR code and desktop users a link, and invite everyone by email from the same place.
Pair it with a hosted PBX
Pair it with a hosted PBX so extensions and seats are created and provisioned from one admin portal. You add the person once, and the same invite carries the QR code for their phone or the setup link for their desktop. If you are new to the phone system side, start with what a business phone system is and how it works.
FAQ
What is QR code provisioning?
It is a way to configure a softphone by scanning a code from the portal. The admin generates the QR code, the user scans it with the app, and the softphone configures itself with SIP credentials and settings. Nobody types a server name, username or password, which keeps setup quick and removes a common source of mistakes.
Do users need to type SIP settings?
No. The scan supplies them. That is the point of QR provisioning: the portal holds the configuration and passes it to the app in one step. Users do not copy a username or password from an email, so there are fewer typing errors and fewer setup questions reaching your support team.
Does it work on desktop?
Desktop apps use a setup link rather than a QR code. Mobile apps use the QR code. In practice you invite people by email, and each person sets up with whichever method suits their device, so a mixed team of phones and computers is easy to handle from the same portal.
Can I change settings later?
Yes. Settings and updates can be pushed from the cloud portal without a reinstall of the app. That means a change you make centrally reaches your users without them having to scan again or re-enter anything by hand, which keeps day-two support as light as day one.
What if a user cannot scan?
Use the manual setup steps. The softphone setup checklist is the fallback route, so keep it ready for the odd failure, for example a camera that will not open. Most people will scan without trouble, and the fallback only needs to cover the exceptions.
Want users connected with one scan? Explore SessionTalk's softphone apps.